|
Incunubula Vault / Major Stinging Stone.
| Requirements: |
Recommended: Team of Level 30+ using Level 5 Armor/Acid/Piercing protections and Bludgeon weapons |
| Quest Item: |

Major Stinging Stone
Used in Greater Shadow Armor and Atlan Weapons. |
| Quest Guide: |
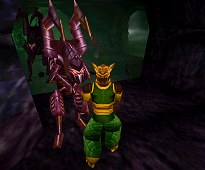
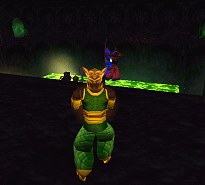
Kickaha |
Before gathering your quest party it is best to find the Swamp Temple dungeon located in
the East Direlands at 37.6S 46.1W and tie to it. The fastest way to get there is to run
to Dryreach and go through the Swamp Direlands portal at 8.1S 74.5E. If you have an OP BSD
portal available, you could also run from here. Portal tie to Swamp Temple, then summon
for your party and instruct everyone to buff inside (it's safe, no monsters). Exit the
Swamp Temple and run NW to 35.9S 47.2W. A few Olthoi Soldiers are inside, but you can
portal in and back up to the wall and the rest should leave you alone. Make sure you
have at least LEVEL 5 buffs for Armor, Piercing and Acid protections before you go in.
You may wish to Acid and Piercing Bane your shields or armor as well.
After your party prepares for their journey below, head down the ramp facing the exit
portal and follow this hallway NORTH. Follow the steaming mounds NORTH and turn to the EAST
when you reach the end of the mounds. Enter the webed doorway ahead and fight your way down
this curvey hall to a large open room. Once this room is clear, quickly enter the NORTH
hallway to avoid a new spawn.

This room is FLOOD ROOM #1. Aproximately 12-15 olthoi spawn in this first room. Mages
and archers in the back, melee's stand at the entrance way and let the bugs come to you.
There is no reason for everyone to run into the room until all the bugs are dead. Enter
the NORTH exit hallway and proceed to the bridges.
Your group will now come to a series of bridges and a tunnel area. 50% of the Olthoi
in this area are stuck on the ropes of the bridges, so your mages & archer should do great
at helping you clean this area up. There is only one way to go, so just follow it around
a bit and then down the hallway. Turn LEFT at the T-Intersection and make your way into
the next large room.
This is FLOOD ROOM #2. This room is somewhat like the first, but with twice as many
bugs to deal with. Try not to have your party run head first into the room and scatter
everywhere. If they do, some of them might end up dead. It's hard to stay in control
when you have 25+ Olthoi chasing everyone around the room. Stay at the entrance corridor
and place your melees in the front with archers and mages in the rear.
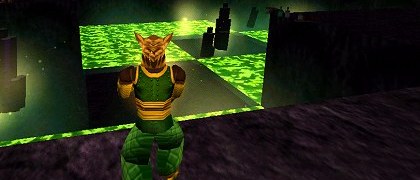
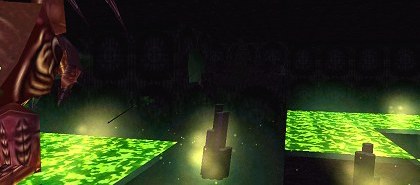
After clearing this room, head around to the left and enter the NORTH hallway. Follow
this around to the Acid Pits. Liquidate all of the bugs you encounter and make your way
around the pits and bridges until you find a DOWN corridor that takes you to the basement.
(NOTE: If your entire party has over 250 Jump - you can attempt to Jump over the Acid Pit
here. If you fall in you will have to abort the quest or die.)
If your team decides to take the basement route (most teams will) just kill the Olthoi
and follow the steaming mounds until you find the UP corridor behind a small wall. Make a
quick turn around the curving halways, back outside near the pits. Cross a couple of more
bridges and prepare to enter the final halls.
Your team needs to be careful that they don't lag into the EXIT portal at this hall.
Make a RIGHT turn instead and get ready to be swarmed by Olthoi from both directions.
You are now at FLOOD ROOM #3 - The final room. Bugs will be attacking your group from every
direction here. About 10 sneak in from behind the exit portal, some running after you into
the final room, and more coming from up above. The spawn rate is fast, so keep the warriors
both in front, and behind, and protect your mages and archers in the middle.
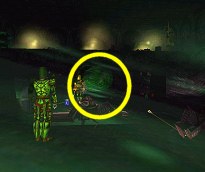 
After toasting all the Olthoi, take the EAST hallway up to the Acid Stone (Major Stinging
Stone) which is lying on the floor next to some other valuable jewels. Spawn rate is about
15 seconds, but it would be wise to put your best fighters at the entrance while everyone
waits to pickup the stone.

|